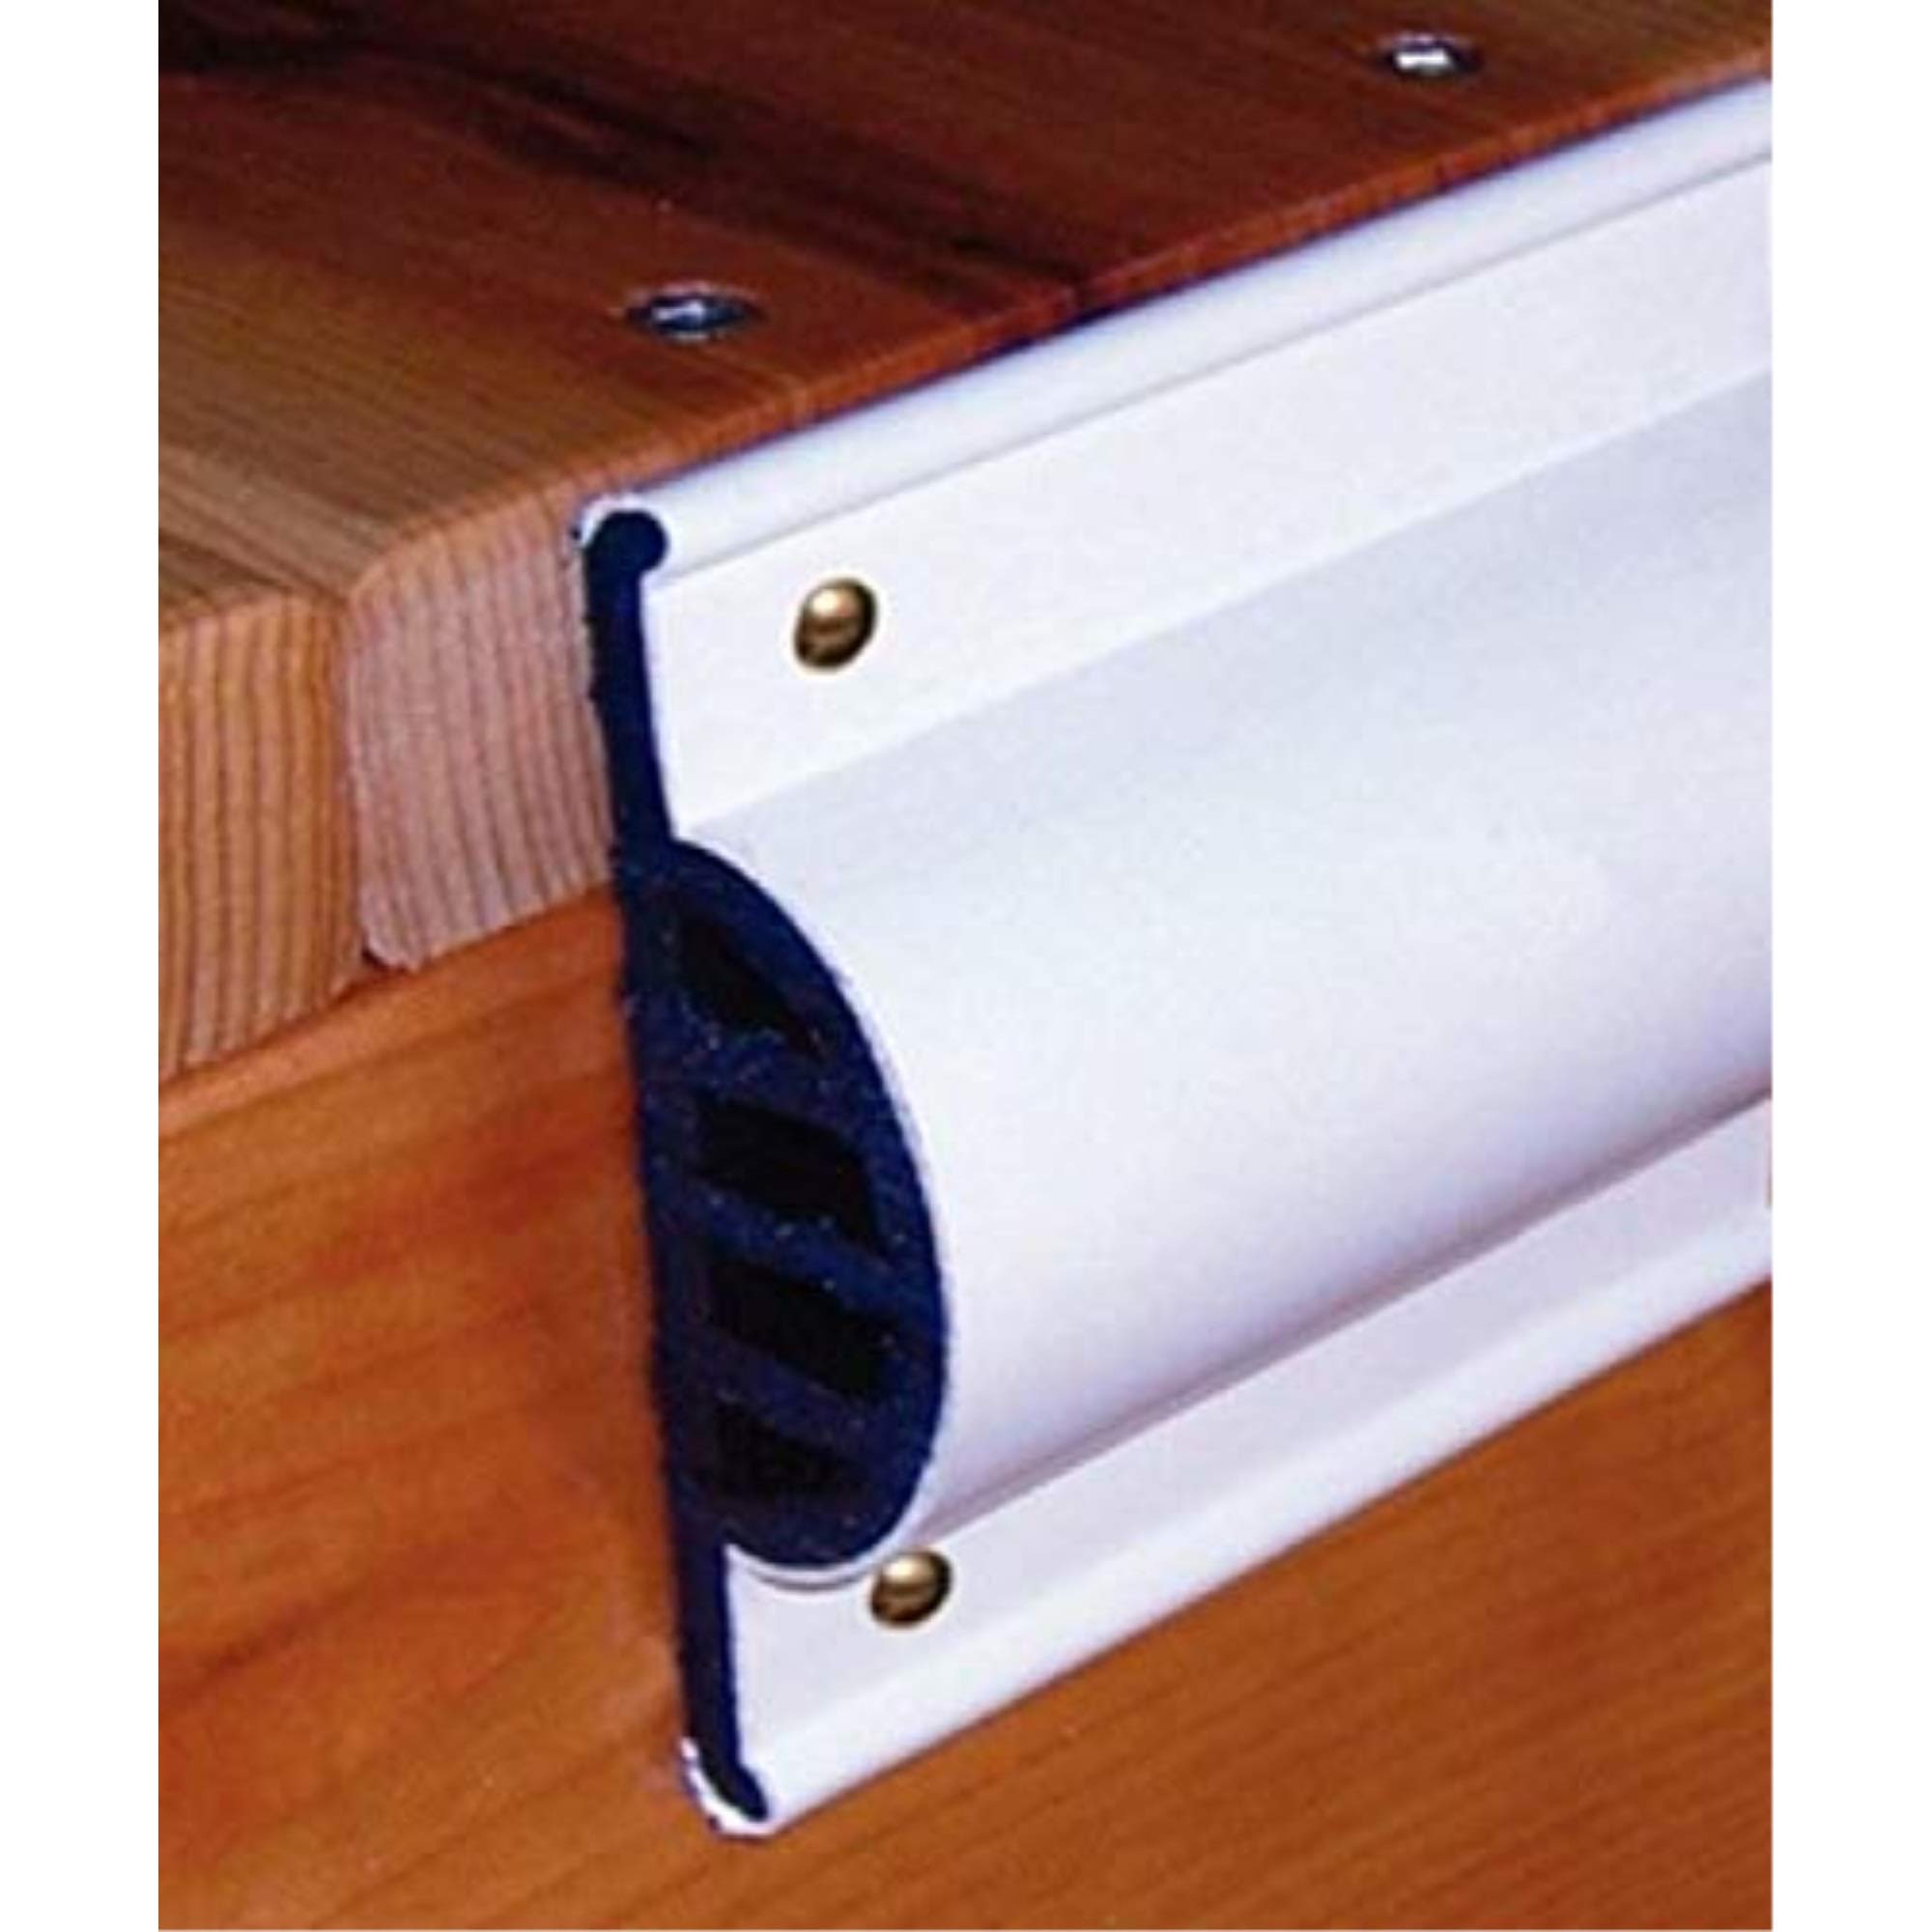
If you’ve just closed on a waterfront property — or you’re spec’ing your first serious dock build — the phrase “dock bumpers” probably sounds like a minor line item. It isn’t. Every time a boat comes alongside a dock, it transfers a surprising amount of energy into whatever’s in the way. Without the right protection, that energy goes into your hull finish, your dock framing, and your pilings (the vertical posts that hold the dock structure in place). Edging coils — lengths of flexible rubber or foam tubing that bolt or clip along a dock’s edge — and piling bumpers — cylindrical or half-round cushions that wrap around or cap individual pilings — are the two most common ways to absorb that energy. Together they’re usually a $100–$600 install for a residential dock, and getting them right the first time saves real money on hull repairs and wood replacement down the road. This guide walks you through material choices, sizing, install sequence, and the tradeoffs that actually matter.
Why the Material Decision Comes Before You Measure Anything
First-timers almost always pick a product before asking what environment it needs to survive. That order is backwards. The single biggest fork in the road is freshwater vs. saltwater, and it changes both material selection and expected lifespan.
Freshwater installs are comparatively forgiving. Closed-cell polyethylene foam — the black or grey coil you see at almost every hardware store near a lake — handles UV exposure and light abrasion well. It won’t corrode the mounting hardware it touches, and owners in freshwater environments consistently report 5–8 seasons from a quality foam edging coil before meaningful compression set (the point where foam stops rebounding and just stays squished). Per Practical Sailor’s marine fender material analysis, closed-cell PE foam maintains roughly 80% of its original energy absorption through the first five years in freshwater when UV stabilizers are compounded into the material — so the “marine-grade” label on the packaging is not marketing fluff; it’s a real spec difference worth paying for.
Saltwater and brackish water change the equation fast. Salt accelerates oxidation on any ferrous fastener hidden inside a foam core, causes vinyl skins to chalk and crack, and degrades lower-durometer rubber compounds in 2–3 seasons. Here the material hierarchy looks like this:
- EPDM rubber (ethylene propylene diene monomer): the workhorse for saltwater piling bumpers. Spec sheets put UV and ozone resistance well above standard neoprene, and the material stays flexible at low temperatures — important on tidal docks that see winter freeze-thaw cycles.
- High-density polyethylene (HDPE) shell bumpers: rigid outer shell with foam core. Owners in coastal Florida and the Chesapeake consistently report 10+ year lifespans with only fastener replacement.
- Vinyl-covered foam: fine for freshwater, marginally acceptable in light saltwater exposure if the vinyl is UV-inhibited, but avoid it for full-time saltwater dock edges — the seams open up and trap salt water against the foam core.
Fastener selection follows the same logic. In freshwater, 304 stainless steel screws are adequate. In saltwater, 316 stainless is the minimum; anything less and you’ll be pulling rusty fasteners through delaminating wood within two seasons. Power & Motoryacht’s dock hardware roundup specifically flags this as the most common and most preventable mistake in DIY dock bumper installs.
Sizing Edging Coils: The Numbers That Actually Matter
The most common sizing mistake is buying edging coil diameter based on aesthetics — people pick whatever looks proportionate — rather than the actual geometry of the contact zone between their boat and their dock.
By the Numbers
| Boat beam at dock contact | Recommended coil OD | Minimum linear coverage |
|---|---|---|
| Under 8 ft (small runabout, PWC) | 2–2.5 in OD | Full exposed dock edge |
| 8–20 ft (bowrider, pontoon stern) | 3–3.5 in OD | Full exposed dock edge + corner wraps |
| 20+ ft (cruiser, large pontoon) | 4 in OD or D-profile fender board | Full exposed dock edge + piling bumpers at slip corners |
OD is outer diameter. It determines how far off the dock face the boat will float, which also affects how your cleats and lines need to be positioned — a detail that bites people later.
For residential floating docks in the 24–40 ft range, the practical answer for most freshwater owners is a 3-inch OD closed-cell polyethylene edging coil on all exposed edges, with piling bumpers at the four corners of any slip. That combination covers roughly 95% of normal docking scenarios per the equipment sizing guidance published by BoatingMag.
One nuance that often gets skipped: corner wraps. Dock corners are the highest-impact contact zones — boats pivot against them during approach — and they need either a purpose-made corner bumper or extra coil overlap (minimum 12 inches past the corner on each face). Skipping the corner treatment and just running coil to the edge of each face leaves a hard wood-to-boat contact point exactly where impact energy concentrates.
Piling Bumpers: Cylinder vs. Half-Round vs. Cap — Which One When
Piling bumpers come in three basic forms, and they solve different problems:
Full cylinder (ring) bumpers slip over a piling from the top and sit at the waterline or just above it. They protect the piling from hull contact and protect the hull from the piling. Best for: open-water mooring pilings, end-tie pilings, and any piling where a boat approaches from multiple directions. The tradeoff is that they need to slide on from the top — which means removal during construction or the ability to float the piling top free, which isn’t always possible on an existing dock.
Half-round bumpers mount flat-side-to-piling with through-bolts or lag screws. They’re retrofittable on any existing piling without removal. Best for: slip corner pilings where you know the approach angle and can orient the curved face toward it. Owners who’ve retrofit half-rounds report that correctly torqued lag screws in treated lumber hold for 4–6 seasons before needing re-drive; stainless lag screws are worth the price premium here.
Piling caps sit on top of the piling and protect the end grain from rot and weather — they are not hull-contact bumpers. Don’t confuse them with protective bumpers. They matter for dock longevity but serve a completely different function.
Decision rule: If you’re building new or doing a major rebuild, spec full cylinder EPDM ring bumpers on all slip corner pilings — they provide 360-degree protection and remove installer error about approach angle. If you’re retrofitting an existing dock without pulling pilings, half-round lag-mounted bumpers are the practical answer. Use 3/8-inch 316 stainless lag screws in saltwater, 304 in freshwater, minimum two fasteners per bumper section with neoprene washers to prevent galvanic staining on the bumper face.
Install Sequence That Prevents the Most Common Callbacks
The sequence matters because early steps create reference lines that later steps depend on.
Step 1: Set the waterline reference. Before anything goes on the dock, float a boat (or a stand-in like a bumper at the anticipated freeboard height) alongside and mark the dock face at the top of the hull’s rub rail. That mark is the center of your edging coil installation height. Most first-timers mount edging coil at a visually comfortable height — which often means too high. The coil center should be within 1–2 inches of the rub rail centerline at average water level. This Old House’s dock maintenance guide flags incorrect height as the number-one reason edging coils fail to protect hulls even when correctly sized.
Step 2: Drill pilot holes, not direct-drive. Foam coils with aluminum insert channels, and EPDM bumpers with integrated bolt channels, both require pilot holes in dock decking or framing. Direct-driving screws through bumper flanges into dock wood without pilots splits the wood at the fastener hole within one season of thermal expansion and contraction cycles. Pilot hole diameter should be 90% of the fastener shank diameter — standard guidance per fastener manufacturer specs.
Step 3: Install coil in continuous runs, not segments. Where possible, use one continuous coil run per dock face rather than joining multiple short sections. Each join point is a potential hard spot and a future water entry point behind the bumper. Where joins are unavoidable (dock corners, long runs), use purpose-made end caps and corner fittings rather than cutting coil at an angle and butting sections. The visual difference is minor; the durability difference over 5+ seasons is significant.
Step 4: Piling bumpers go on after edging coil. Sequence matters because slip corner piling bumpers need to align with the edging coil height — if you install piling bumpers first, you’ll often find the coil height doesn’t match and one or the other ends up repositioned.
Step 5: Float test before finalizing. Bring the boat alongside at normal docking speed (slow), let it contact the dock, and observe where it actually touches. Adjust coil height or add supplemental bumper sections based on actual contact, not the estimate from Step 1. Hull flare, freeboard variation with load, and pontoon geometry all create surprises here.
The Tradeoffs Worth Naming Explicitly
Foam coil vs. EPDM edging: Foam is 30–50% cheaper and easier to cut and work with. EPDM edging extrusions cost more but hold their profile significantly longer under repeated compression. For a freshwater dock used seasonally, foam coil is defensible. For a saltwater dock or a dock with heavy daily traffic, the cost-per-season math favors EPDM over a 7–10 year horizon.
Pre-assembled edging kits vs. buy-by-the-foot: Pre-assembled kits from brands like Dock Edge include matching hardware, corner pieces, and end caps sized for standard dock lengths. They cost 15–25% more per linear foot than buying coil stock separately, but reviewers consistently note that having matched components eliminates the most frustrating part of the install — sourcing compatible hardware after the fact. For first-time installers, the kit premium is worth it.
DIY vs. professional install: Edging coil and piling bumpers are legitimately DIY-friendly for anyone comfortable with a drill and a tape measure. The exception is installing full-cylinder ring bumpers on existing pilings — if you can’t float the piling top free, that job requires a dock contractor with lift equipment. Don’t force-cut and split a piling to retrofit a ring bumper; the structural damage to the piling costs far more to repair than a contractor installation.
If X, Then Y: Your Decision Framework
- If freshwater, seasonal dock, budget under $200: closed-cell PE foam edging coil (3-inch OD for most boats), 304 stainless hardware, half-round corner bumpers on slip pilings. Done.
- If saltwater or brackish water: EPDM edging extrusion, 316 stainless throughout, full-cylinder ring bumpers on all slip pilings. Don’t compromise the fastener spec.
- If new construction: spec cylinder ring piling bumpers now — retrofitting them later means pulling pilings or accepting half-round as a substitute.
- If retrofitting an existing dock: half-round lag-mounted bumpers are the correct answer; spend the savings on upgrading to 316 stainless fasteners.
- If you’re managing a shared dock (HOA, marina): standardize on EPDM and HDPE regardless of water type — the replacement cycle cost difference over a 10-year budget horizon more than justifies the per-unit premium, and you eliminate the variable of individual owners making incompatible material choices.
Getting this right isn’t complicated, but it does require making the material and sizing decisions before you buy anything. The $40 you save on foam vs. EPDM doesn’t feel like much until you’re replacing it two seasons early — and pulling corroded fasteners out of dock framing in the process.