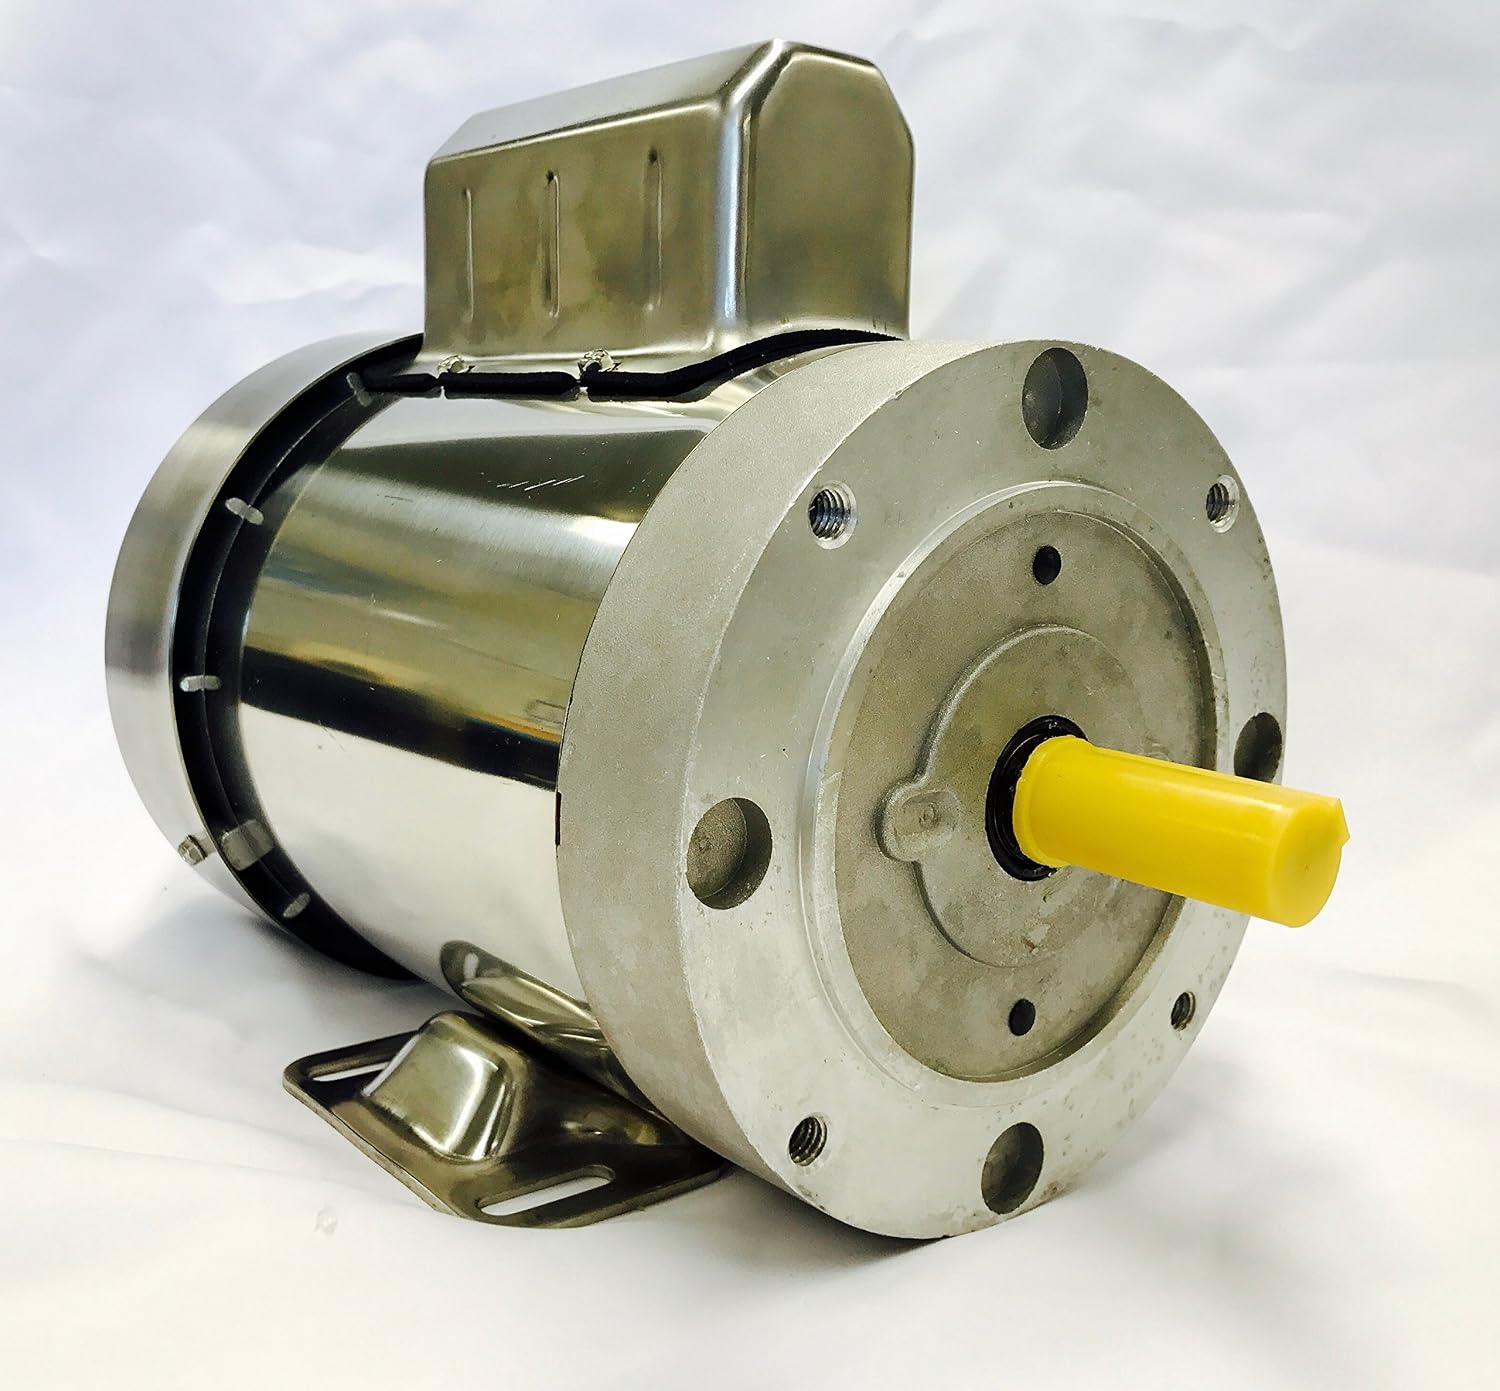
A boat lift is the motorized cradle system that holds your boat out of the water when it’s not in use — it saves your hull from prolonged waterline exposure, fouling, and osmotic blistering (water slowly seeping into the fiberglass). The lift motor is the electric engine that raises and lowers that cradle via a cable-and-drum or hydraulic mechanism. The control side — wall-mounted switches, handheld remotes, and pendant controls (the wired push-button box that hangs near the lift) — is how you tell the motor what to do. When a lift starts behaving badly, owners often assume the motor is done. Sometimes it is. More often, the problem is somewhere in the control chain: a corroded switch contact, a worn remote receiver, or an undersized circuit breaker. This guide gives you a clear decision framework for figuring out what’s actually failing, what’s worth upgrading proactively, and what you can leave exactly as it is.
Start Here: Diagnose Before You Spend
The single most expensive mistake in boat lift maintenance is replacing the motor when the problem lives upstream in the wiring or controls. Before you price out a new drive unit, run through this sequence.
Does the motor hum but not turn? A humming motor that won’t rotate usually means it’s receiving power but the mechanical load exceeds its capacity — or the motor’s starting capacitor (a small cylindrical component that gives the motor its initial torque burst) has failed. Capacitors typically cost $15–$40 and are available through lift manufacturers and electrical supply houses. Replacing a capacitor before condemning a $400–$900 motor is an obvious first step.
Does nothing happen when you press the switch? Work backward from the motor. Check the breaker first, then the contactor (the relay that switches high-amperage power to the motor), then the switch itself. Boating Magazine’s boat lift buying guide notes that corrosion in the control circuit — not motor failure — accounts for a majority of “dead lift” service calls. The contactor is a common wear item that costs $30–$80 and is often overlooked.
Is the remote the only thing failing? A lift that works fine from the wall switch but won’t respond to the remote has a remote problem, not a motor problem. That’s a $100–$250 fix, not a $600+ one.
Is performance degrading slowly over time? Slower lift speeds, more strain sounds, occasional thermal cutoff (where the motor shuts itself off because it’s overheating) — these are signs of either a motor approaching end of life or an undersized motor struggling with a load it was never properly spec’d for. This is the one scenario where proactive motor replacement makes sense before you get a full failure.
Motor Upgrades: When They’re Worth It and When They’re Not
When to upgrade the motor
The clearest case for a motor upgrade is when your current motor is correctly matched to your lift’s rated capacity but you’ve added load — a heavier boat, a larger outboard, a full cover and frame system. ShoreMaster’s technical documentation specifies motor sizing by both lift capacity (typically 2,500 lb to 10,000 lb for residential lifts) and duty cycle (how many consecutive raise/lower cycles the motor can handle before thermal protection kicks in). If you’re regularly hitting thermal shutoff with a properly wired lift, the motor is undersized for your actual use — and that’s a legitimate reason to go up a frame size.
The second case: age. Most residential lift motors carry a manufacturer-rated service life in the range of 10–15 years under normal seasonal use, though owners in saltwater environments consistently report shorter intervals due to accelerated bearing and winding corrosion. If your motor is approaching or past that range, replacing it before peak season rather than during it is sound decision-making.
The third case: converting from a single-speed motor to a two-speed or variable-frequency drive (VFD) motor. A two-speed motor lets you raise the lift quickly through most of the travel, then switch to a slower, more controlled speed for the final positioning. Owners who’ve made this upgrade consistently report better hull placement precision and reduced cable wear — the slower final approach puts less shock-load on the cable drum. Hewitt’s replacement parts documentation lists two-speed motor kits as a direct upgrade path for many of their mid-range lift frames.
When to leave the motor alone
If your motor is under 8–10 years old, correctly spec’d for your boat’s current weight, and performing within normal parameters — leave it. The motor is not a wear item you rotate on a schedule the way you’d replace a dock line. If it’s running fine, there’s no cost-benefit case for replacement.
One nuance: motor brand loyalty. Some installers push proprietary replacement motors that are priced 40–60% higher than third-party equivalents rated to identical specifications. Boating Magazine’s specifications review notes that motor compatibility across lift brands is broader than manufacturers typically advertise — many lift frames accept standard 110V or 220V motors of matching frame size and RPM rating from independent suppliers. Verify your frame’s mounting pattern and shaft spec before paying the brand premium.
Remote Controls and Pendants: The Best Upgrade Per Dollar Spent
If you’re on a 10+ year-old lift and the control system is original, the remote and pendant controls are the single highest-value upgrade target on the whole system. Here’s why: the cost is low (typically $120–$350 for a full control kit), the reliability improvement is immediate and dramatic, and the diagnostic clarity alone is worth it.
By the numbers:
- Pendant control replacement (wired): $45–$120 depending on manufacturer
- Wireless remote receiver + transmitter kit: $150–$350 for quality units from Automa Technologies or HydroHoist
- Contactor replacement (often bundled with control upgrades): $30–$80
- Motor replacement (mid-range 1.5HP residential unit): $400–$900 installed
Modern wireless control systems for residential boat lifts use 433 MHz or 915 MHz frequency bands with rolling-code encryption — the same technology used in garage door openers. Rolling-code encryption means the remote signal changes with every button press, preventing signal capture and replay (where a neighbor’s remote accidentally triggers your lift, or someone deliberately copies your frequency). Older systems used fixed-code transmitters that are genuinely vulnerable to this. Owners who’ve upgraded from fixed-code to rolling-code remotes consistently report the improvement in peace of mind alone makes it worthwhile, especially in dense marina or lakefront community settings.
Practical Sailor’s coverage of dock electrical systems reinforces the point about corrosion being the dominant failure mode in marine control circuits. Sealed, potted receiver units (where the circuit board is encased in resin rather than just housed in a vented box) substantially outperform standard housings in humid environments. If you’re specifying a replacement remote system for a saltwater or high-humidity freshwater environment, the sealed-receiver option is worth the modest premium.
Switches and Wiring: Leave Most of It Alone, Fix This One Thing
Wall-mounted lift switches take a beating — UV exposure, moisture, physical wear from daily use. A faulty switch is a $20–$60 fix and shouldn’t be deferred. But the wiring between the switch and the motor, and between the breaker panel and the lift, is a different conversation.
The BoatUS Foundation’s dock electrical safety publication is clear on this point: boat lift wiring should meet ABYC (American Boat and Yacht Council) standards for dock and shore power installations, including proper conduit protection, marine-rated wire, and ground-fault circuit interrupter (GFCI) protection. GFCI protection on dock circuits isn’t optional — it’s a safety requirement in most jurisdictions and critical for preventing electric shock drowning (ESD), a hazard that occurs when AC current leaks into the water near a dock.
If your lift was installed more than 15 years ago and you’ve never had the dock wiring inspected by a licensed marine electrician, that inspection is money better spent before any motor or control upgrade. Upgrading to a more capable motor and then running it through undersized or degraded wiring creates a genuine fire and shock hazard.
What you generally don’t need to replace proactively: the conduit runs themselves (unless physically damaged), the main disconnect switch (unless corroded or non-functional), or the breaker panel if it’s appropriately rated and GFCI-protected. The BoatUS guidance suggests inspecting dock wiring every 3–5 years but doesn’t recommend wholesale replacement on a calendar schedule absent signs of degradation.
The Decision Framework: If X, Then Y
This is where the practitioner framing earns its place. Here’s the decision map for the most common scenarios:
If the motor hums but doesn’t turn → Replace the starting capacitor first (~$20–$40 parts). If that doesn’t resolve it, then diagnose for a seized motor bearing before committing to full motor replacement.
If nothing happens from any control → Check breaker, then contactor, then switch continuity. The motor is likely fine.
If only the remote fails → Replace the remote system (receiver + transmitters, $150–$350). This is the highest-value, lowest-risk upgrade in the entire lift system.
If the lift runs slowly or trips thermal cutoff → Verify motor sizing against current boat weight. If undersized, upgrade to next motor frame up. If correctly sized, check for voltage drop across the run from panel to motor — long wiring runs with undersized wire gauge are a common culprit.
If your lift is 12+ years old and generally functional → Replace the pendant control, inspect the contactor, and install a rolling-code wireless remote system if you don’t have one. Leave the motor alone unless performance is degrading.
If you’re doing a full dock renovation → Spec the motor for your heaviest anticipated boat (not your current one), install a two-speed or VFD motor if budget allows, and run new marine-rated wiring with GFCI protection from the panel. This is the one moment to right-size everything rather than inheriting the constraints of a prior installation.
The practical takeaway across all these scenarios: the motor is usually the last thing that fails and the most expensive thing to replace. The control chain — switches, contactors, wiring connections, remotes — fails first and costs far less to address. Diagnose systematically from the wall out to the motor, and you’ll spend a fraction of what an impulsive motor replacement costs.