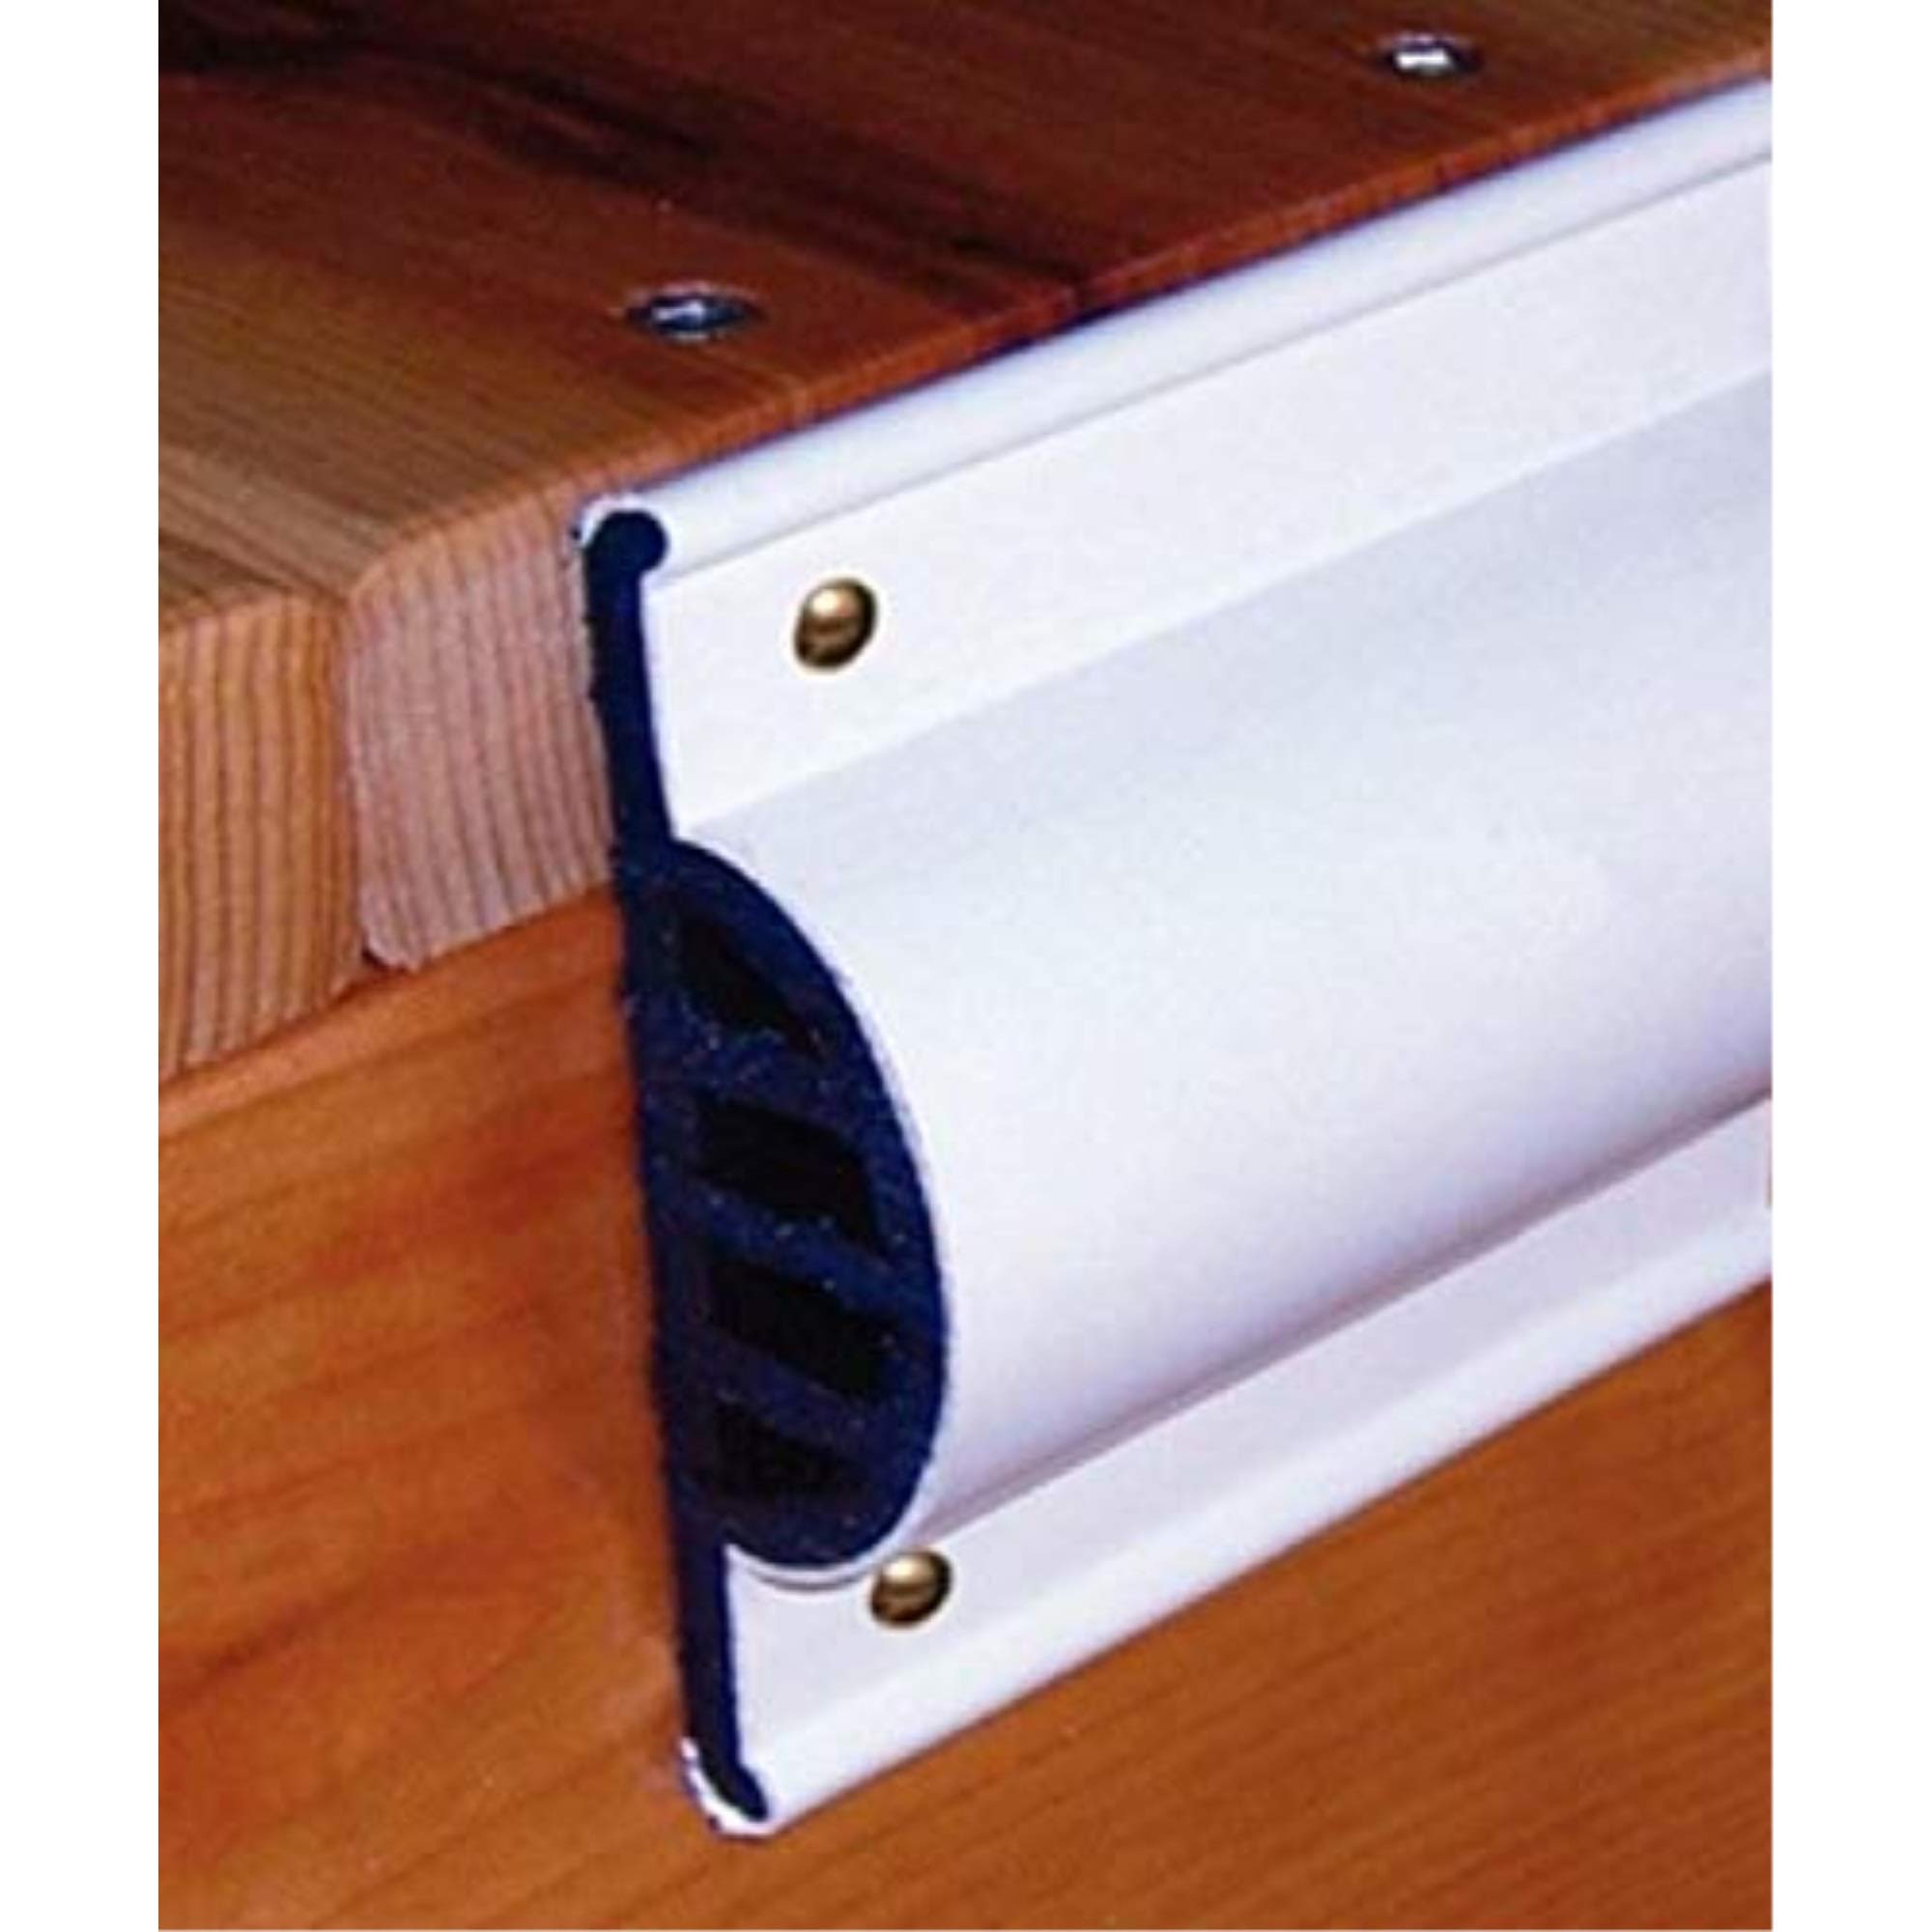
If you’ve ever ordered dock edging coil — the long strip of flexible PVC (a tough plastic) that cushions and protects the exposed edges of a dock from boat impacts and foot traffic — and watched it spring back into a tight curl the moment you unrolled it, you already understand why installation reviews for these products sound more like physical therapy stories than home-improvement wins. Dock edging coil is exactly what the name says: a continuous length of profiled bumper material shipped wound into a coil. That coil shape is the single biggest source of installer frustration. The material remembers its curve, and if you skip the conditioning step, you’ll spend more time fighting the edging than fastening it. This guide walks through the full process — sun conditioning, cutting, sequencing, and solo fastening — drawing on the real-world patterns that show up across owner reviews of Taylor Made, EasyFlex, and Nalwort products. If you have a project pending, these are the decisions worth making before you pick up a drill.
Why Coiled PVC Fights You (and How Heat Changes That)
PVC has a property called thermal memory — it holds the shape it was stored in, and the tighter the coil, the more stubbornly it resists lying flat at room temperature. This isn’t a defect; it’s just physics. But it means the single most important step in any dock edging install happens before you touch a drill or a screw.
Sun exposure is not optional. Reviewers of Taylor Made commercial dock edging consistently recommend leaving the unrolled coil flat on the dock surface in direct sunlight before attempting to fasten it. One frequently cited review notes leaving sections in the sun for ten days with some portions still showing wave — and recommending two full weeks for stubborn sections. That’s not an edge case; it reflects the reality that heavier-profile coils and tighter original packaging require longer conditioning windows.
By the numbers:
- Light PVC profiles (under ¾” thick): 2–4 days of direct sun exposure is typically sufficient per aggregated owner reports
- Medium profiles (¾”–1” thick): 5–10 days is the common recommendation
- Heavy commercial profiles (Taylor Made’s heavier grades): reviewers report up to 14 days for full compliance
- Ambient temp matters: below 65°F, add time; above 85°F, subtract time
EasyFlex owners, across both the white and P-profile variants, report a somewhat smoother conditioning experience — likely because EasyFlex ships in slightly larger-diameter coils that impose less curvature memory on the material. Even so, EasyFlex reviewers still recommend sun exposure before fastening and confirm that skipping it produces wavy results.
If you’re working in spring or early season and ambient temperatures are low, you have two practical options: wait for a warmer stretch, or use a heat gun on the low setting to warm sections before pressing them flat. This Old House’s guidance on working with PVC trim makes the same point — cold PVC is rigid and unforgiving; warm PVC becomes cooperative. Don’t aim the heat gun at one spot; keep it moving to avoid scorching.
Cutting Without Destroying the Profile
Heavy PVC dock edging is not trim board. The profile geometry — the shape of the cross-section, whether it’s a D-profile, P-profile, or flat-face — can tear, compress, or deform if you use the wrong cutting approach.
What works:
- A sharp utility knife with a fresh blade scores and cuts light-to-medium profiles cleanly. Score deeply, then flex the material to snap along the line, then trim any remaining web.
- A miter saw with a fine-tooth blade (80-tooth or higher for clean PVC cuts) produces the cleanest, squarest ends on heavy commercial profiles like Taylor Made’s thicker grades. Per This Old House’s PVC cutting guidance, blade speed matters — keep RPMs high and feed rate slow to prevent melting.
- Tin snips work on very thin profiles but crush the cross-section on anything heavier than about ½” wall thickness. Avoid on any profile you care about seaming cleanly.
The seam placement decision is real. Nalwort’s 24-foot listing is one of the more misleading product presentations in this category — reviewers flag clearly that what arrives is 15 separate sections, not one continuous 24-foot piece. That means you have 14 seams to place deliberately. Where those seams fall matters: seams at corners, at high-impact zones (where boat gunwales typically contact the dock), or at highly visible sightlines will show wear and look sloppy faster than seams placed at low-traffic mid-run positions. Map your dock perimeter before you cut anything, and locate seams where they’ll be least visible and least stressed.
Solo Installation: The Knee-and-Drill Technique (and When to Ask for Help)
One Taylor Made reviewer’s description of pressing the coil flat with a knee while driving screws solo is about as honest a summary of the experience as you’ll find. It works, but it’s worth understanding why and planning around it.
The challenge is simple: the moment you relax pressure on the coil to reach for the drill, the section springs up and the pilot hole no longer aligns. The knee-and-drill technique works because it keeps the profile seated flat while leaving both hands free for the fastener. If your dock surface allows it (most aluminum and composite docks do), kneeling directly on the edging section — centered between two attachment points — provides enough downward force to keep it flat while you drive screws to either side.
Double-sided tape as a staging aid is the other approach EasyFlex owners consistently mention. Applying a strip of heavy-duty outdoor mounting tape to the back channel of the edging before pressing it into position gives you 30–60 seconds of working adhesion — enough to drive two or three screws before the coil can spring back. This isn’t a permanent fastening solution; the tape serves as a staging clamp, not a structural bond. Marine-grade double-sided tape (3M 4200-series or equivalent) handles outdoor conditions; standard indoor mounting tape will fail at the water’s edge within a season.
When a helper genuinely matters: For runs longer than 10 feet, solo installation becomes significantly harder. One person holding and pressing, one person driving fasteners, cuts installation time in half and produces cleaner, more consistent spacing. If you’re doing a full dock perimeter — 40 to 80 linear feet — plan for two people for at least the fastening stage.
Fasteners, Profiles, and the Corner-Matching Problem
Fasteners are almost never included. This is the consistent finding across buyer reviews of Taylor Made, EasyFlex, and Nalwort products. Budget for and source your own before project day. For freshwater dock applications, 304 stainless steel self-tapping screws in #10 or #12 diameter are the standard specification. For saltwater or brackish environments, step up to 316 stainless — the extra molybdenum content in 316 provides meaningfully better chloride corrosion resistance over a 5–10 year horizon. Screw length depends on your substrate: for aluminum dock framing, 1” to 1-¼” is typical; for wood decking, 1-½” to 2” gives adequate bite.
Pilot holes matter more than most installers expect. PVC under fastener stress will crack at the mounting point if the pilot is too small or the screw is driven too fast. Use a pilot bit sized to the screw shank (not the thread), and drive at moderate speed. Pre-drilling all your pilot holes before applying any adhesive tape is the most efficient sequence.
The profile mismatch warning from Taylor Made reviewers is worth taking seriously. One reviewer specifically flags that Taylor Made’s straight-run edging and their corner pieces, while sold as a coordinated system, have slightly different profile geometries at the joint face — meaning the transition from a straight run to a corner piece doesn’t produce a flush, gapless seam without some careful trimming or the use of a connector cap. If you’re specifying Taylor Made edging for a dock that has multiple corners, confirm the specific corner piece SKU against your straight-run profile before ordering. Reviewer consensus suggests the transition looks better with a deliberate design choice (a visible cap or transition piece) than with an attempted flush butt joint between mismatched profiles.
Frequently Asked Questions
How long do I need to leave dock edging coil in the sun before it will lie flat? Plan for a minimum of five to seven days for medium-weight profiles under warm conditions (75°F+). Taylor Made reviewers report that heavier commercial profiles can require up to two full weeks. Cooler temperatures extend that window — if you’re working in spring with daytime highs below 65°F, add several days or use a heat gun carefully.
Can I install dock edging coil by myself, or do I need a helper? Short runs (under 8–10 feet) are solo-manageable using the knee-and-drill method or double-sided tape as a staging hold. For longer continuous runs or full dock perimeter installs, a second person makes a meaningful difference in both speed and result quality. Solo isn’t impossible, but plan extra time.
What is the best tool for cutting heavy PVC dock edging? A miter saw with an 80-tooth or finer blade produces the cleanest square cuts on heavy profiles. A sharp utility knife works well for light-to-medium profiles. Avoid tin snips on anything thicker than ½” wall — they crush the profile geometry and produce ragged edges.
Does the 24-foot Nalwort bumper arrive as one continuous piece or in sections? Buyer reviews consistently flag this: the Nalwort 24-foot listing arrives as 15 separate sections, not a single continuous piece. Plan your seam placement deliberately before installation begins, locating seams away from corners, high-impact zones, and visible sightlines.
Are stainless screws included, or do I need to source my own fasteners? Source your own. Across Taylor Made, EasyFlex, and Nalwort buyer reviews, screws are not included. For freshwater use, 304 stainless self-tapping screws in #10 or #12 are standard. For saltwater or brackish environments, use 316 stainless.
Will Taylor Made straight-run edging match the profile of Taylor Made corner pieces? Not perfectly — at least not as a flush butt joint. Reviewers specifically flag a geometry mismatch between straight-run and corner pieces in the same Taylor Made product line. Plan for a transition cap or deliberately designed seam at corners rather than counting on a seamless flush joint.
The Decision Rule
If you’re working with Taylor Made commercial coil on a multi-corner dock in a saltwater or high-UV environment: budget two weeks for conditioning, order corner transition caps, and plan for two-person installation on any run over 10 feet. The product performs well long-term — reviewers consistently note durability — but the install demands patience and preparation.
If you’re working with EasyFlex on a simpler freshwater dock with straight runs: five to seven days of sun exposure, double-sided tape as a staging aid, and a solo install is realistic. EasyFlex reviewers rate the overall experience as smoother, though not effortless.
If you’ve ordered Nalwort: treat it as a sectional product from the start, map your seams before cutting anything, and you’ll avoid the frustration that catches first-time buyers off guard.
In all three cases, the coil is telling you something the box doesn’t: this material needs time before it cooperates. Give it that time, and the rest of the installation follows.